Docs
Receipts
Upload receipts, use AI to fill details, and approve them into expenses
On this page▼
Receipts
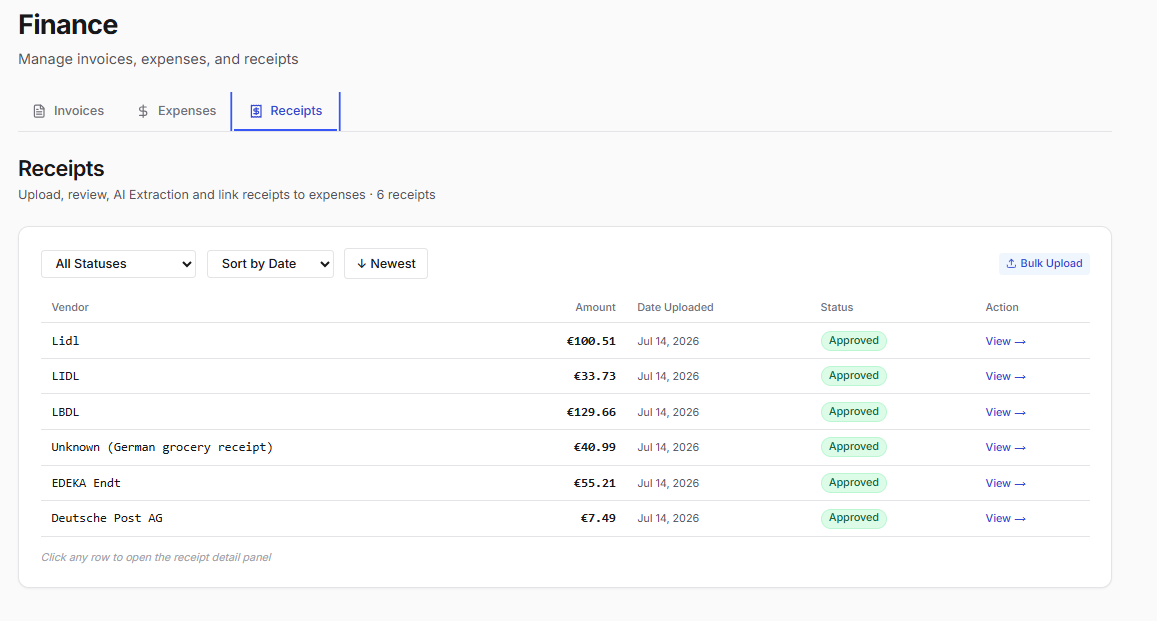
Upload and manage receipt images or PDFs. Use AI to fill in expense details, then approve receipts to create expenses.
This is separate from attaching a receipt file while editing an expense on the Expenses tab — see Expenses.
Where to find it
Finance → Receipts tab. A badge shows when receipts are waiting for approval.
What you can do
- Upload a receipt file (image or PDF)
- Run AI scan to fill in vendor, amount, and date (uses AI credits)
- Review and approve a receipt to create an expense
- Reject or delete incorrect uploads
- Bulk upload multiple receipts (Pro only)
Typical workflows
Upload and scan a receipt
- Go to Finance → Receipts
- Click Upload Receipt
- Select a file
- Optionally run AI Scan to fill in details (uses AI credits)
- Review the details and save
Approve a receipt as an expense
- Open a pending receipt
- Confirm amount, date, and category
- Click Approve — an expense is created and linked to the receipt
Bulk upload (Pro)
- Go to Finance → Receipts
- Use Bulk Upload to add many files at once
- Process each receipt individually after upload
Notes
- AI receipt scan uses AI credits (check Settings → Subscription for your balance)
- Receipt files are stored securely for your workspace
- Pending approvals show a count badge on the Finance Receipts tab
FAQ
Can I attach a receipt to an expense I already created?
Yes — when creating or editing an expense under Finance → Expenses, you can attach a receipt file on the form.
Is bulk upload on Free?
No — bulk receipt upload is Pro only.
Related
- Expenses — expense list, categories, and Scan with AI from Expenses
- Settings & Customization — subscription and credits